Wooden DIY Shop Lamp
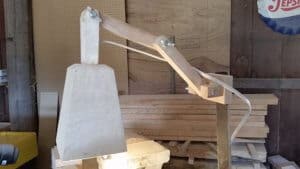
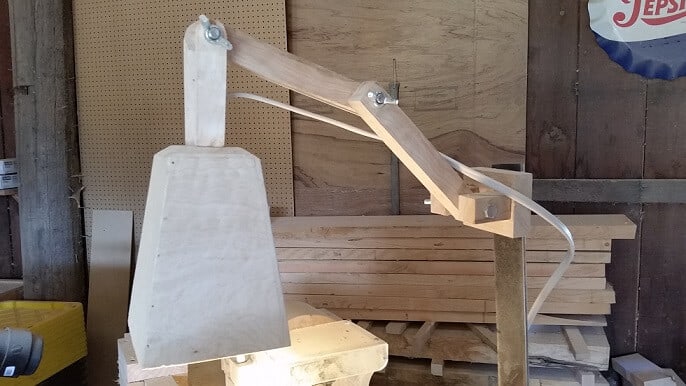
I do all my woodworking in our barn and due to its large size light is a precious commodity. One of the areas I need plenty of light is at my lathe. I started out using a clip-on lamp but the pathetic thing didn’t give enough light and wouldn’t even hold its own weight so instead of spending money on an expensive but cheap store bought lamp, I decided to build my own shop lamp. It is mostly made from scraps I had hanging around.
It’s not fancy, but I am not planning on selling it or entering it into a contest. I just want plenty of light and I want to be able to adjust the light to the specific area I need it.
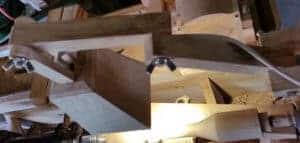
NOTE: I am making the assumption that you have basic carpentry skills and a basic working knowledge of electricity and how it works
This DIY Shop Lamp was simple to create and was just what I needed.
All you need to build one is:
- 1″ x 1″ x 4′ of chosen lumber
- 1/4″ thick wood for shade
- scrap wood piece for base
- socket thingy for lightbulb
- pluggin thingy for electricity
- 12/2 or 14/2 Wire
- 4 large wingnuts
- 4 bolts 3/8″
- pin nails
- 3/8″ Bolt
- On and off switch (optional. I just plug it in)
Measurements:
(These measurements can be easily adjusted to your needs)
- Shop Lamp Head Pieces- Square 3″ top piece and 4 sides measuring 3″ x 7″ x 5″ x 7

Lamp shade measurements
- Lamp Arm Pieces-
- 2- 3/4″ x 1 1/4″ x 4 3/4″
- 2- 1 1/4″ x 1 1/4″ x 8″
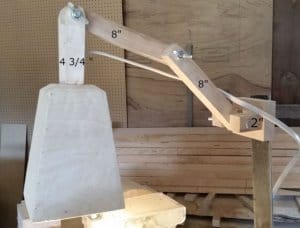
- Mounting Base-
- 2 – 2″ x 1 1/4 x 1 1/4
- 1- 3″ x 3 1/2 x 1 1/4″

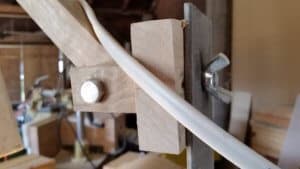
Base of Shop Lamp
Directions:
- Cut the four trapezoids for lamp shade and assemble.
- Cut a lamp socket base with same angles as the lamp shade.
- Drill hole in the center of the lamp base and insert socket.
- The tabs on the lamp shade are 1/2″ x 1 1/4″x 4 3/4″. I ran a screw from the inside of the lamp shade into each of the two tabs. The articulating arms are 8″ long, you can adjust the length as needed.
- Drill holes and attach wire as necessary.
- Install the bolts and wing nuts.
- Turn on the light. Wonder why it will not work.
- Cuss a few times then put in a light bulb. Now it works.
- Take the rest of the day off, that was overwhelming.
Hope you enjoyed this tutorial….
–The Screwy Carpenter
Come Visit our Store to see the Carpenters Beautiful Work
More Carpenter Projects:





Leave a Comment