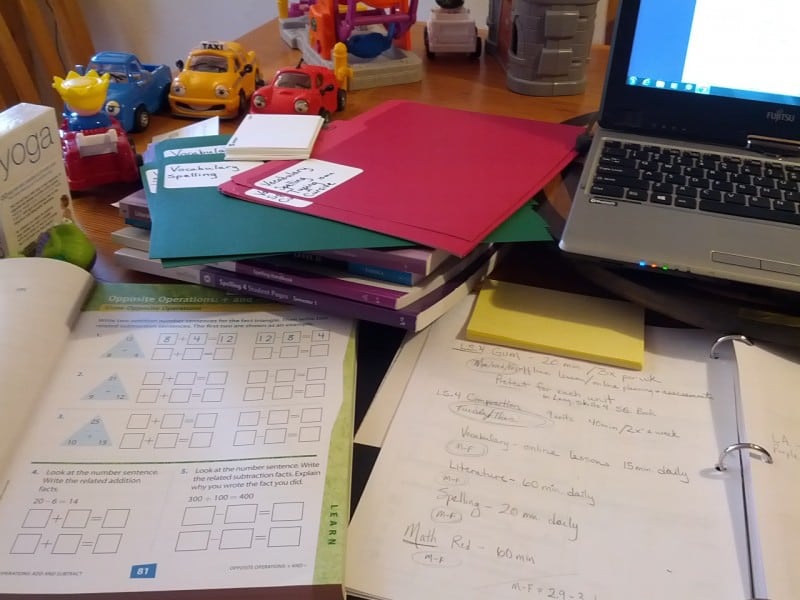
Life is pretty hectic and adding schooling at home to the bundle makes it even crazier. Organization is vital. If I didn’t stay organized I am not sure if we would get anything done or if I would be able to keep my sanity. So, since I don’t want to be put in the loony bin I do my best to keep the crazy tamed… well, most of it… these cuties have their own kind of delightful crazy.
This last year we moved into a bigger, but at the same time smaller, home. Yes, we have more land to live on but the house itself is smaller.
In the last house we had a dedicated school room. Though I loved having the dedicated space, I wouldn’t trade in our new space to go back. With the challenge of a new setup came a need to change my space structure and organization.
In our new home we have a small office space that is the school storage room. We don’t do lessons in there mostly because I find the space a bit too closed in and when you add three kids to the mix. UGH! No way I am going there. So, most of our sit down learning time is done at the dining room table.
My goals in any school day is for the kids to (besides have great learning time):
1) Not have to ask me constantly what is next.
2) For them to be able to access their supplies without me.
3) For the kids to be able to pick their next learning activity without interrupting my one-on-one teaching time with their sibling.
4) Complete my planning in one week chunks to allow for #1 – #3 to happen.
I put all the following into place to help me through the year. Each week and day has its own flow and will be adjusted accordingly. Some weeks I am organized and it goes great. Some weeks are totally a mess because I didn’t get my lesson plans done or some part of life puts everything into a tailspin BUT the system helps me get back on track quickly.
Here are my basics and how I start organizing for the year:
1) I create a list of Subject and Time Requirements
This is a list of subjects that each student needs to go through on a weekly basis, how much time each lesson will approximately take in each subject and what days each subject is assigned to.
This helps me know I can get it all in there and how I need to set things up to get through the year.
2) Lesson Plan pages.
These is what my current pages look like. They need to be changed a bit for this year, but I am getting a feel for the year first. I prefer to make my own format using Microsoft Word and the tables tool. You can of course use a lesson planning book. There are many great ones out there. If you are not sure what would work best for you I would recommend starting with a pre-made format.
Note: I ALWAYS complete my lesson plans in pencil. This allows me to move things without a big mess.
3) I make folders for each student for each day of the week.
Folders are:
– Color coordinated to a child for easy identification. If you only have folders of one color, stickers would work or write their names in different colors.
– Labeled with the child’s name and the day of the week that folder will be used for.
– Each labeled on the front with lessons that don’t have worksheets, are consistent with every week and always are done on that day. In our case most of those courses are completed online.
– Monday’s folder has an alphabet for reference because on Monday they put their spelling words in alphabetical order.
How the file folders are used:
**I do my lesson planning for the next week usually on Friday or on the weekend. While planning I place any printables that the student will need in these folders. Then when I am done planning they are placed in the File Drawer of the School Shelf (see below)
**If there is no printable for a lesson and I can give simple instructions to guide them, I place a sticky note in the folder with instructions. Sometimes it will simply state to go see Mom for History or Math lesson 2.3 online.
Since we are part of an online school this is also where I make notes of online classes and times they need to attend
**When its time for school to start they grab their folder for the day. At the beginning of the school day my eager 4th grader can go start school while I finish my breakfast. He grabs his folder and supplies from the School Shelf and off he goes. I love that.
4) The Kids School Shelf
On Top: Turn in shelves for all work I have looked over. This is filed later (usually when it is full and Mom clearly needs to take care of it )
Middle: All books they use on a regular basis. If a book is used for more than a couple days it is stored here until they are done with it then it is put in the turn in shelf. Dry erase boards, dictionary, thesaurus, journals, literature books…
Bottom File Drawer: Drop folders for each day of the week that holds the file folders I explained above, lined paper, graph paper and flash cards. Empty folders are put back when the days work is completed.
5) My School Shelf.
I keep all my lesson planning books, my planning folder with my weekly lesson planning charts and student workbooks with tear out pages all in one spot for easy planning. (Oh Yeah, and my stash of colored pencils I don’t want the kids to use. )
On a separate shelf are all the books that are used at some point but are not needed until a specific lesson comes up.
That’s all folks. That is the basics of how I organize our crazy online schooling materials. It worked so great after our move that I don’t plan on changing the system this year.
I would LOVE to hear any tips you have. Please enter a comment below or add a link if you have written a post on the subject in your own blog. I would love to read it.
-The Frabjus Lady


Leave a Comment