I am happy to announce we are up and running again…(well mostly). We at least have a working home computer and I can begin blogging again on a limited basis! Yes, I know I could have been Super Blogger and gone to the library to write with my three kids in tow, but really?… I decided on being just a good Mom. Super Blogger will just have to be put on pause… So, time to have some fun and share a project…
So, I have made notes of blogs I want to post and now I am going to slowly jump back into the game. Most of my previous work is still trapped on another computer to be recovered sometime this next week. BUT I did a project today that I REALLY wanted to share.
DRYER LINT FIRE STARTERS
I got this idea originally from a camping book.
They are simple to make and have simple ingredients. You will need:
– Egg cartons
– Dryer Lint
– Wax (sold in bead or in blocks. This would also be a great use for those old broken crayons or candles you don’t want any more)
NOTE: Made some more recently (June 2014) with some crayons melted with the wax. Just know some crayons wont melt very well (weird, I think it was an off brand) and it will be thicker then just using wax. Because of that it wont soak into your lint as quickly. Still works but think I prefer to use wax from a block or from old candles.
When I first made these several years ago The Carpenter was definitely not sold on this idea. I only camped a little bit growing up and his family was a full out, in the rain or cold, throughout every summer Pacific Northwest camping family. He looked at my fire starters and raised his eyebrows with much doubt etched into his face.
Well, they ended up working great! He was sold after he started a fire with just a Dryer Lint Fire Starter and some 2 x 4 size pieces of wood. They provide a large, long lasting flame.
How to make them:
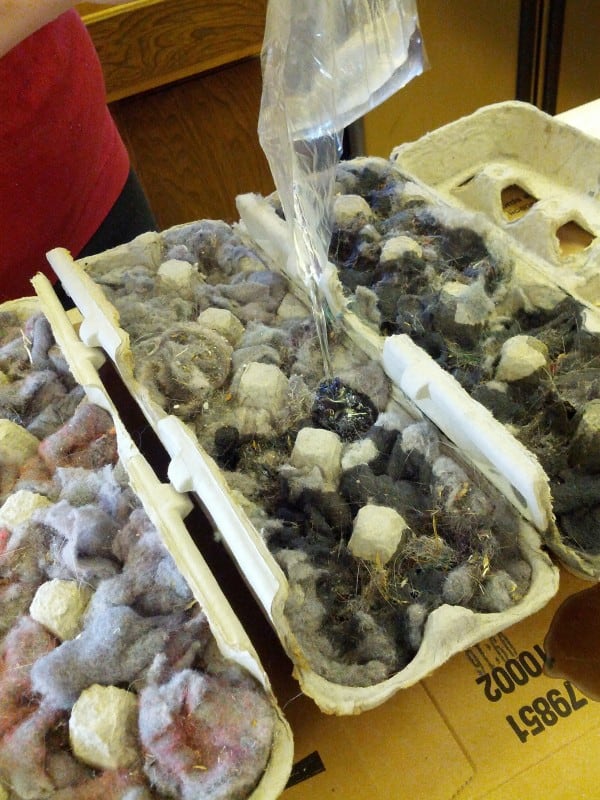
1) Fill each egg spot of your carton with dryer lint. I keep my egg carton on top of the dryer and fill it as I take the lint out to the dryer catch. I save them till I get 2-3 filled and then do a big batch all at once.
2) Melt your wax.
NOTE: Wax is flammable so be very careful to keep it away from your heat source. Do not melt in a pan directly on heat. Use a double broiler method or a wax melting bag (shown below)
ALSO, melted was will burn (I would hope you know this but I must say this…consider it my inner Mom coming out) It will “stick” to your skin and keep burning until it cools and hardens. Occupy your little ones in a separate room during this process.
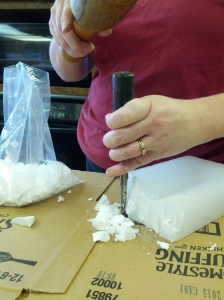
I have this chunk of wax that I broke up. I have no idea where I got it. I had two in my craft supplies for a long while (Thank you my sweet carpenter for the use of your mallet and chisel. )
You can buy wax beads from a craft store. You can also melt your old candle pieces or you can melt down some broken old crayons (with labels taken off)
I used these great bags for melting my wax, directions are on the package. They allowed me to melt the wax without making a mess on my pans.
3) Pour melted wax CAREFULLY into your prepared egg cartons, saturating the lint.
NOTE: It is hard to get the wax all to go where you want it. I placed my cartons on a flattened cardboard box so any overflow would not have to be scraped off my counter top.
4) Let cool and harden. This won’t take long.
5) Break off one egg section to start a fire. It will seem small for the job but they are very effective.
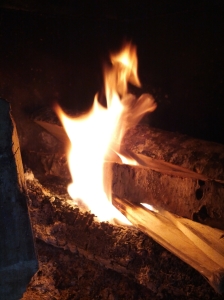
This is just the fire from the one starter:
This is my fire after only a minute:
I used some smaller wood pieces to start it but I did not have any other starter materials.
Now keeping the fire going….. Well, I am afraid you are on your own 🙂
Hope you enjoy these as much as I do. I love that they are simple to make and very inexpensive. For us they are pretty much free because I was given the wax, I buy eggs in a carton anyways, and lint would go in the garbage if I wasn’t using it for this. Plus, I don’t have to figure out a perfect balance for starting a fire. Just throw one of these in and arrange some wood around it.
Happy Fire Building! Now to go find some chestnuts….
Come Check out our other Crafting Tutorials:
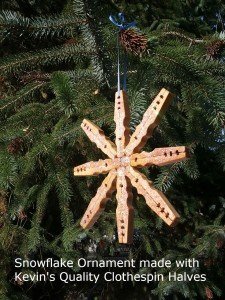
How to build a Clothespin
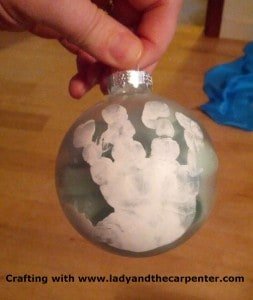
Teacher Appreciation Ornaments
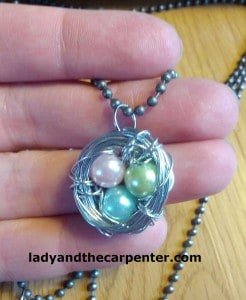
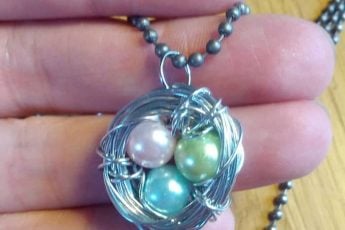
Bird Nest Necklaces and Earrings
-The Frabjus Lady






Becky Kalson
September 16, 2014 12:04 pmThanks for the tip. I’m going to have to try this.
frabjus
September 17, 2014 2:15 amThey are great. Recently made another round to get ready for winter.