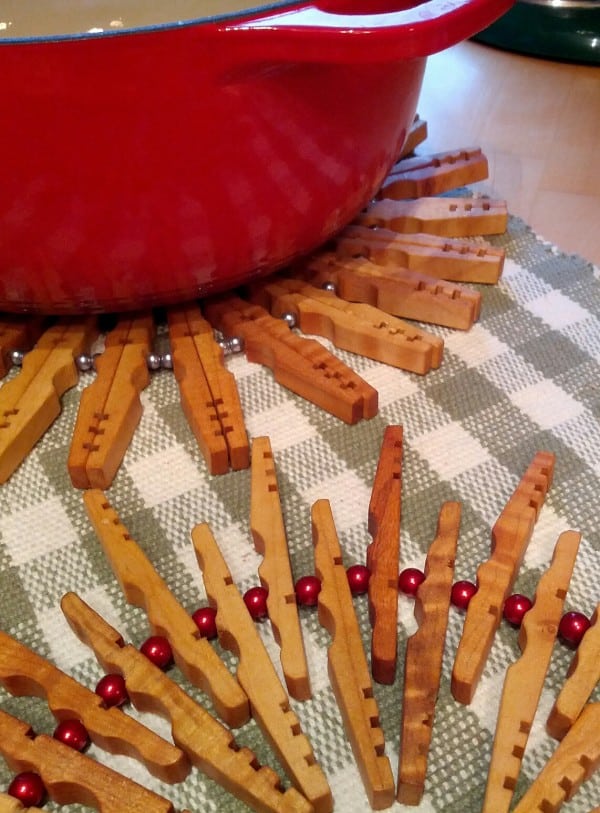
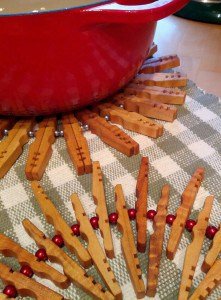
I have really enjoyed making crafts with our new Clothespin Halves. Not only did I have to make the craft to create the tutorial but now I have two gorgeous trivets to display on my table.
Already I have had several people mention how wonderful they look. No one can resist touching them when I show them that they change shape.
I love their simple beauty and diversity….
Because you don’t connect the ends together they can be moved into any shape you want. It is perfect for any size of pan, pot or platter
Note: Love this idea but don’t want to make one? We are offering completed trivets and other rewards through our Kickstarter Campaign until March 28th.
How to make a Clothespin Trivet:
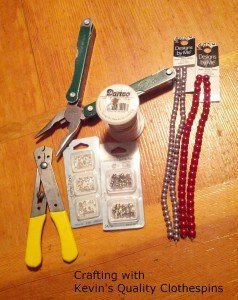
Supplies:
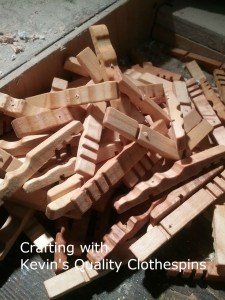
50 Kevin’s Quality Clothespin Halves
30 ” of Wire (I used 25 gauge wire. If you add more beads measure more wire)
50 Metal Beads, no larger than 3/8″ in diameter
2 Crimp Beads
2 Crimp Bead covers
Supplies for desired finish.
1) Apply desired finish to your clothespin halves. I put boiled linseed oil on my pin halves and let them dry for 48 hours. However, if you want a simpler, less messy, and similar finish you can spray them with a clear top coat (found where you buy spray paint). I like a clear finish because it makes the grain in the wood pop and highlights each pins unique beauty.
Lightly and evenly spray one side, Let it them dry thoroughly, flip, spray the other side and let completely dry.
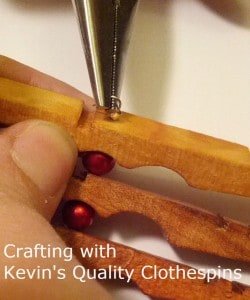
2) Drill a small hole into each pin at the center of the middle arch of the clothespin halves. Drill the hole just big enough for the wire to pass through.
I created a simple jig out of scrap wood and clamped it to the drill press platform. Each time I placed the pin tight in the corner of the jig and then drilled the hole, it would pass through at the same location and go through the hole in the drill press platform.
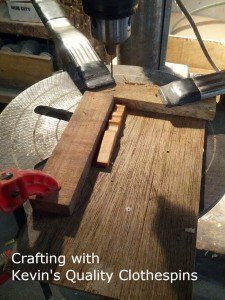
You can freehand this same process by using a hand drill on a sacrificial surface (a surface you don’t mind getting holes in).
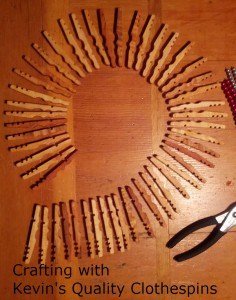
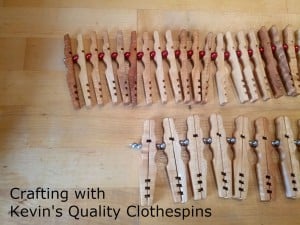
3) Gather your supplies, lay out the clothespin halves in the design you want and decide where you want beads.
Here are a couple design examples:
NOTE: Trivet will vary in length according to how many beads and halves you use. My single half design was 3″ longer than the double design.
4) Bend the end of the wire and add a crimp bead, clamping it flat to hold the wire.
5) If desired add a crimp bead cover (works the same as a crimp bead, just makes it look like a regular bead is there not a squished one)
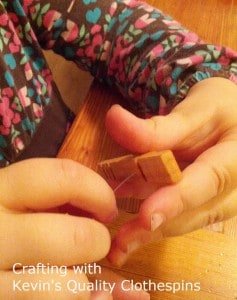
6) String the beads and clothespin halves onto the wire in the pattern you desire.
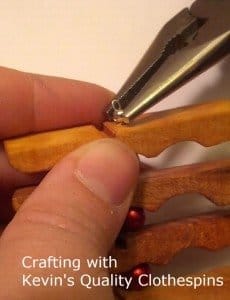
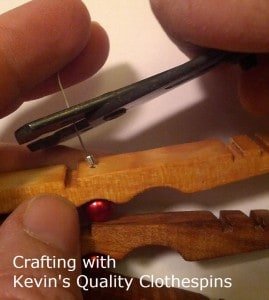
7) Add a crimp bead to the end to keep the items on the wire. Cut the wire to allow about an inch of excess. Bend the wire and tuck into crimp bead to create a loop. Flatten crimp bead with pliers to secure wires.
8) Add another crimp bead cover, if desired.
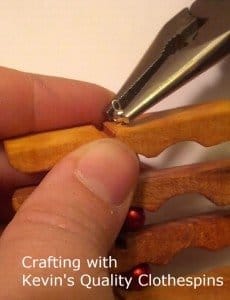
Enjoy your creation.
Note: A trivet is to hold hot items that are cooling to protect the surface of a table or counter. Do not place on a heating item such as a stove top or wood stove. It is still wood and will burn.
Here are the two I created with diameter measurements for when they are in a circle formation: (Each half is 3 1/2 inches in length)
Want to make your own? Your design is only limited by your imagination.
Come Check out our other Crafting Tutorials:
Teacher Appreciation Ornaments
Happy Crafting,
The Frabjus Lady
Shared on the Homestead Blog Hop







![IMG_20140919_193023[1]](https://ladyandthecarpenter.com/wp-content/uploads/2014/09/img_20140919_1930231-226x300.jpg)



Cleo Brett
November 11, 2017 3:22 amHow or what do you use to protect your utensils or pans from getting paint or stain on them when using the trivet for a “stove to trivet” on the table? Does the stain or paint really transfer to the pan if the trivet is not sealed? Should I only use the trivet after I let my cooked item in the pan cool slightly before it is placed on the trivet?
I really like your web page and your info was great; except for the questions above and I cannot wait for your answer so I can start my first one……………Thank you, Cleo
Hilary Jones
November 11, 2017 4:37 pmhi cleo,
when using hot items such as a pot or pan on wood either leave the wood plain or use a oil finish such as boiled linseed oil or danish oil. any finish that sits on top of the wood such as paint or polyurethane will transfer to the hot pot. in all avenues do not put the wood in the dishwasher. hand wash and air dry only. hope that helps, –kevin
Kelly - Simple Life Mom
January 20, 2015 11:06 amVery creative. I like the idea of putting different beads between the pins. I can make ones for different occasions.
Thanks for sharing on the Wednesday Homestead Blog Hop. I hope we see you there again tomorrow. 🙂