Clothespin Snowflake Tutorial
It’s Christmas time!!! Ya!!
Even though The Carpenter won’t let me put up the Christmas tree until after Thanksgiving (He believes in one holiday at a time) it is time to start making paper snowflakes for the windows and wooden snowflakes to decorate around the house….
One of my favorite clothespin crafts. I am also planning to make a few Clothespin Snowflakes without bling and a few pads on the bottom so I can use them for trivets at the table.
I love the beautiful grains in the maple wood and love the rustic look of them.
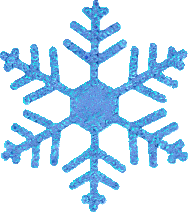 How to make Clothespin Snowflakes
1) Gather all your supplies:
– strong Glue for adhering your halves together
-8 Kevin’s Quality Clothespins (Plain or oil finish)
-any embellishments such as glitter or paint.
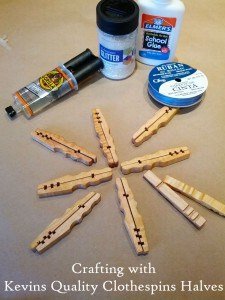
Supplies set up for Clothespin Snowflake craft
GLUE CHOICE NOTE: I used a double part epoxy for my glue choice because I wanted it to dry quickly without clamping and I also didn’t want the finished snowflake falling apart when my children touched it.
The worse choices for glue on this project (in my opinion) are white school glue and a glue gun. They will stick for a short period of time but fail to properly bond the wood together. Wood glue would work but will take more time to dry and bonds best when clamped.
2) Prepare your work surface by covering it with paper.
It will probably stick to your project BUT getting paper off your project with a scraper or sandpaper is better than you having a wooden snowflake attached to the counter 🙂
3) Place your wood pieces into the snowflake pattern. This allows you to easily see what sides will be visible when assembled.
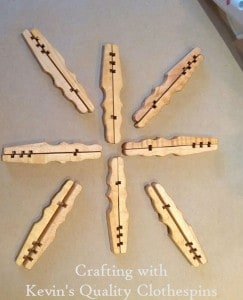
4) If painting your pieces, take time to do that now. It is harder to paint the snowflake once finished (though that is also an option). the above clothespins have a coating of boiled linseed oil. For a similar look but easier application, cover with a clear topcoat. You can find clear top coat in the spray paint area of your local store
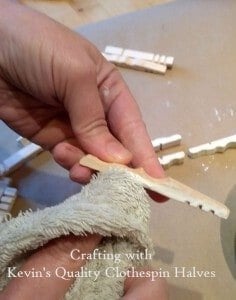
For the snowflake shown here I used white tempera paint
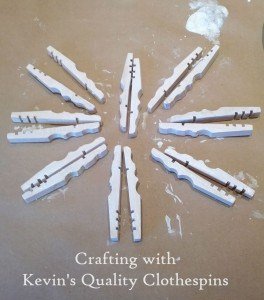
5) Bond the half pairs together on the flat sections. Remember, A little epoxy goes a long ways. If you are using a glue other than double epoxy you want to let these dry before heading to the next step.
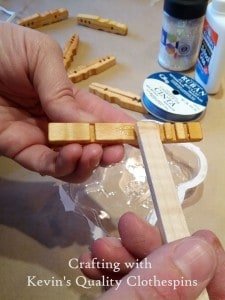
6) Glue the tips of the pairs together in the pattern shown.

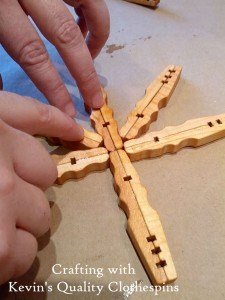
7) I then took some extra epoxy and shoved it into the middle open sections where the tips touch to give it some extra strength. It will end up sticking more to your paper but I think taking time to scrap a bit off is worth not having to fix it in a couple weeks
8) Make sure all is aligned as you want it and let it dry until the epoxy sets (an hour or two)
9) Add any embellishments such as bling or glitter. I put a thin coating of white school glue on the snowflake and then sprinkled my glitter. Larger embellishments you want to use your stronger epoxy.

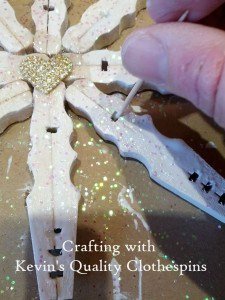
At the end I use a toothpick to clear out all the holes
10) Add a hanging wire or ribbon.
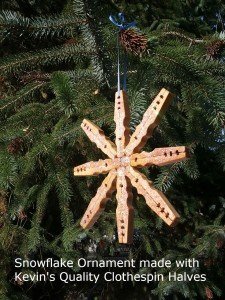
Enjoy!
See our Clothespin Half Trivets here

Come check out more clothespin craft ideas on our Pinterest Clothespin Board
Come Check out our other Crafting tutorials:
How to make a Clothespin
![IMG_20140919_193023[1]](https://ladyandthecarpenter.com/wp-content/uploads/2014/09/img_20140919_1930231-226x300.jpg)
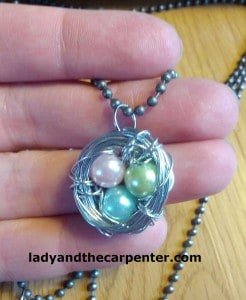
Bird Nest Necklace and Earrings
Teacher Appreciation Ornaments
Happy Crafting,
The Frabjus Lady





Leave a Comment