A couple years ago I started canning. It began with a simple longing to preserve some fruit to use through the year and a longing to save money.
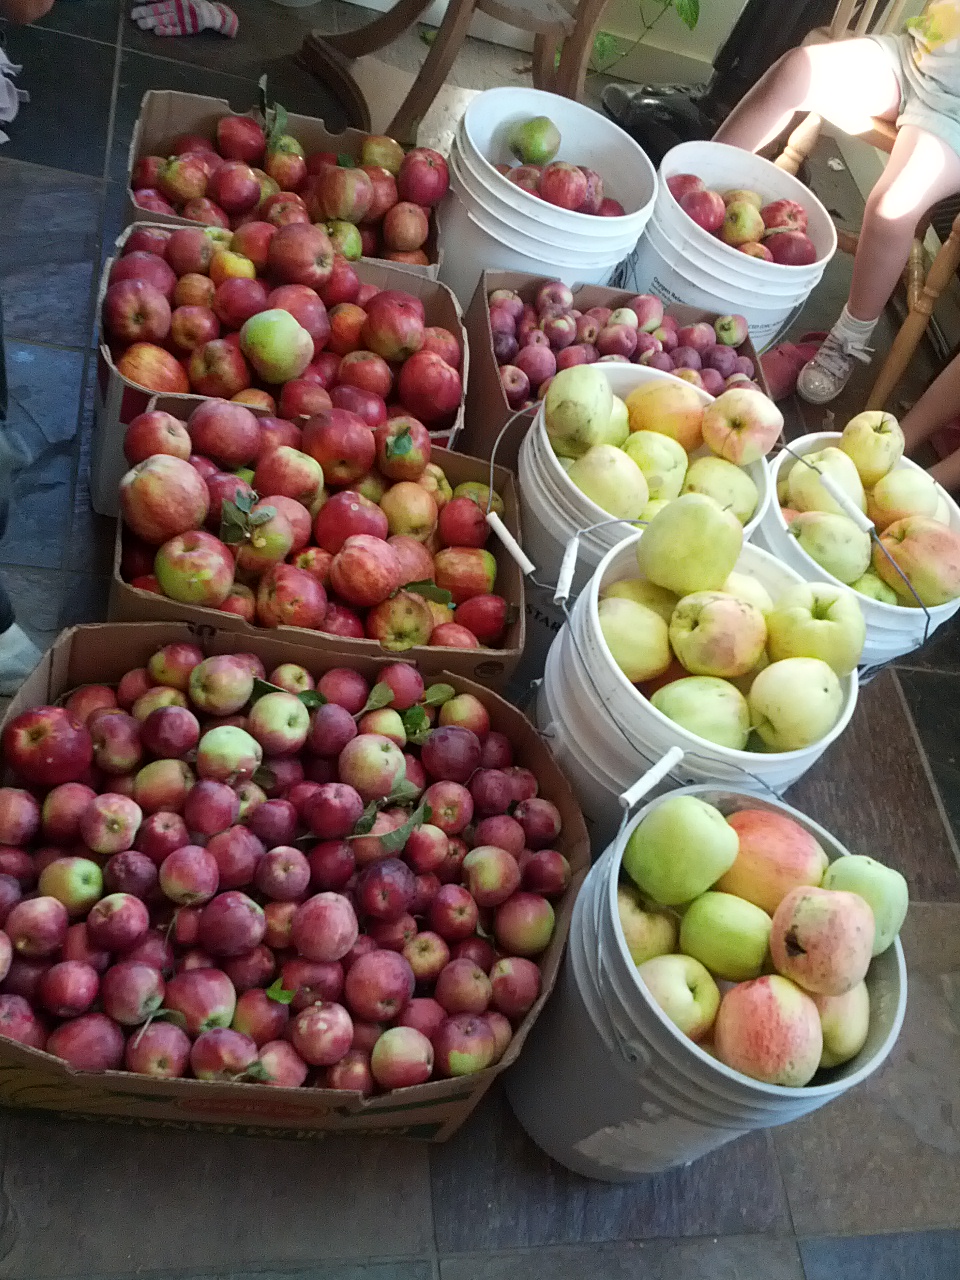
This is our second year canning large quantities of applesauce. For the last several years we have had access to several apple trees. Due to this free supply of apples, ( free in cost, not time or labor) our first year of canning about broke even with the cost of store bought applesauce. Of course homemade applesauce is much better. I had found an amazing deal on a large canner (holds 9 quarts) and a conical sieve at a garage sale a couple years prior and so our expenses for that first year included: jars (with lids and rings), sugar, cinnamon and the energy to process the jars.
This year our goal went from last years 80 jars to 100 quart jars. Last years supply disappeared in July and I want enough on hand so I can give one away here and there as well as have enough for it to be consistently available . This last year, apple sauce was a staple in our home. The kids love it. It is often part of breakfasts and a side dish at other meals.
Because we did not need to buy jars this year (we had some given to us and had last years to refill), the only expenses this year have been lids, sugar, cinnamon and the energy used to process the jars.
How we go about canning large quantities of applesauce….
Preparation:
I think any cooking job is so much less frustrating if you prepare your ingredients and supplies before hand. This is what I do to get ready:
1) Prepare the quart jars and canning equipment (canner, rack, magnetic wand, jar lifter, canning funnel….) needed for the day by washing them with hot soapy water. (I usually try to do this the day before)
2) Visually check for ALL needed ingredients. Too many times I have said to myself “Oh yeah, I have that.” to discover that it is not there when I am ready for it.
For applesauce you will need: Apples, sugar and spices (I use cinnamon in applesauce)
A Note on Apples: Store bought apples have a wax coating. They are also heavily sprayed with pesticides. These wonderful fruits are on the top of the Dirty Dozen list for highest level of pesticide residue. These chemicals can be found in not only store bought apples but also the apple juice and applesauce made from them. If you have to buy apples I recommend you buy organic.
3) Apple sauce making equipment check: Pots, sieve , knives, cutting boards, compost bucket, large containers to hold sauce, music to play…
Now onto Applesauce Making:
1) We set aside one or two days for applesauce making as a family.
Usually on weekends not two days consecutively. This is very rewarding but it is also work. Give yourself and your family a chance to recover. If you don’t they may end up hating apples… and anything apple related…
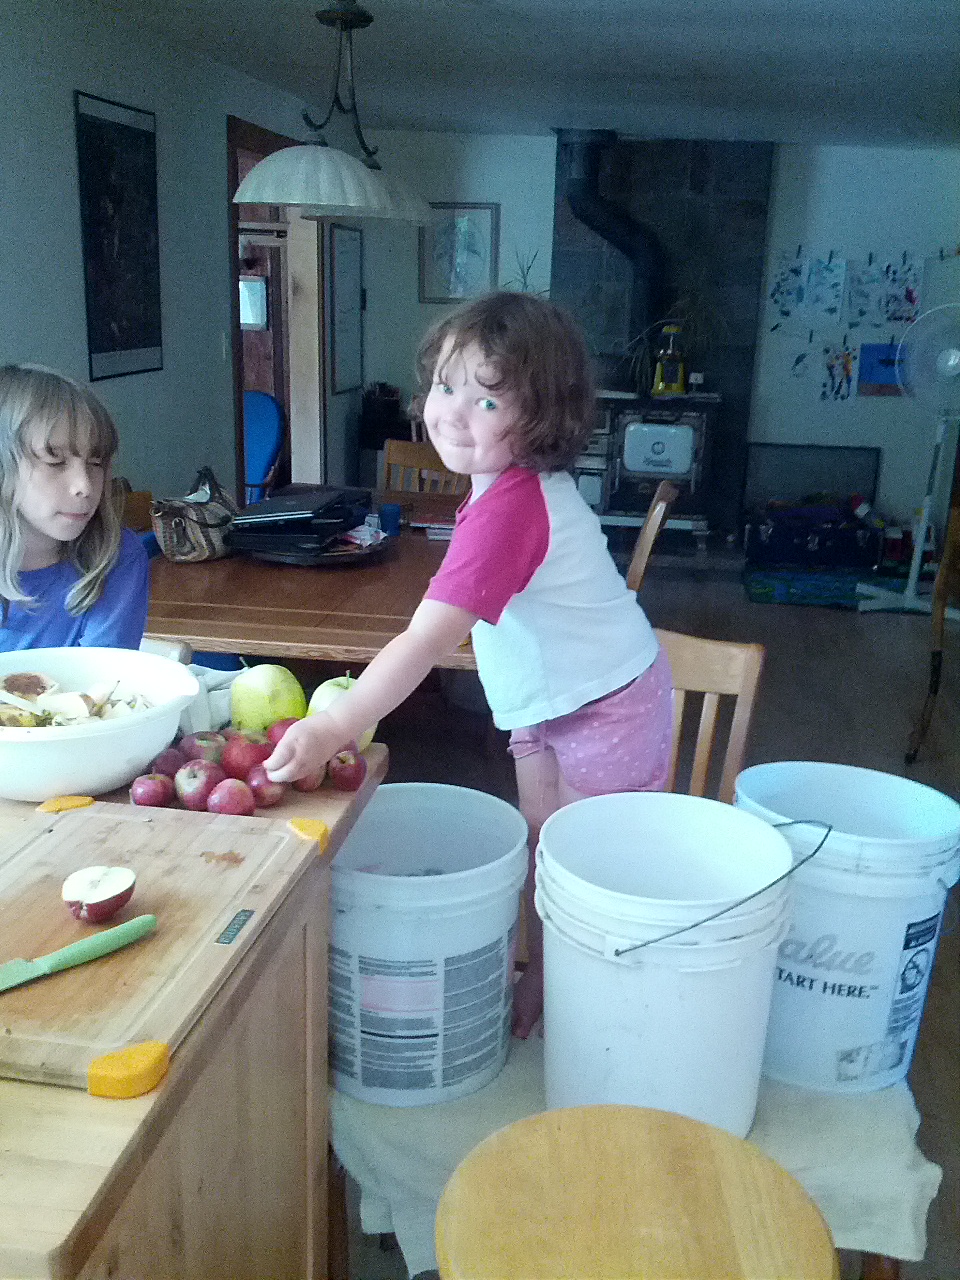
We have one stove top and four productive people helping. Because of limited stove top area we make all the applesauce first . This is the most work and all family members contribute. Even the three year old takes the apples out of the bucket and puts them on the counter.
2) Rinse your apples.
I love protein in many forms but bugs and dirt are not a desirable applesauce ingredient.
4) I cut the apples in quarters and take out the seeds.
Yes, using this method you could keep the seeds in but I think they change the flavor and are best removed.
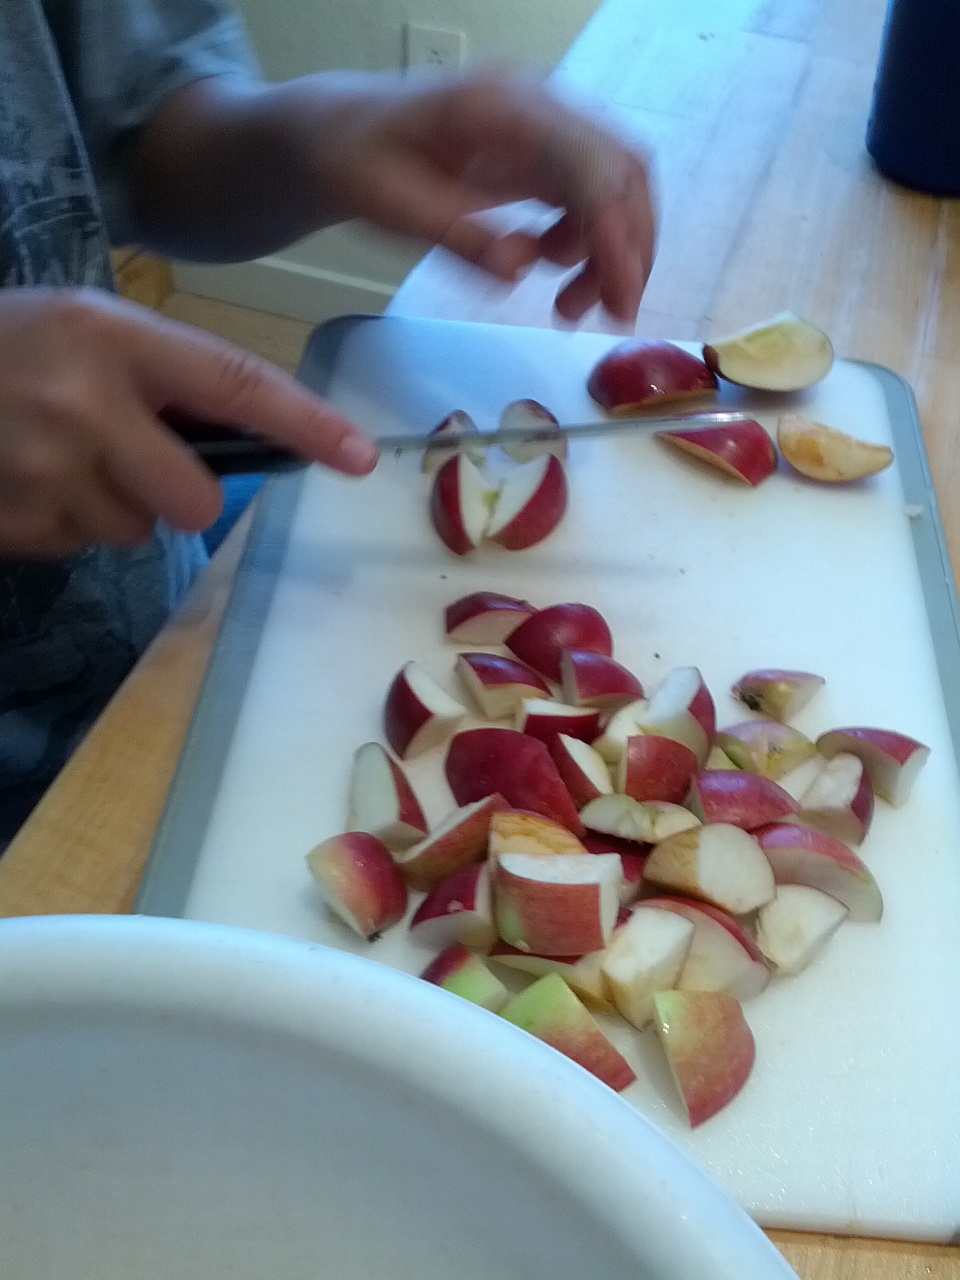
5) The older kids then cut the apples into small pieces (about 1/ 2 inch or smaller.)
Update: We have recently acquired one of these beauties…
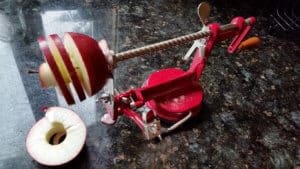
This machine makes cutting up apples SUPER EASY and fast. I do still leave the skins on because I like the difference they make in the final products texture and color (Red apples sauced with skins on make a beautiful pink applesauce)
NOTE: I regularly give my kids experiences to cut food. We started them off with those pumpkin cutter tools with the smooth edges and when they could do that well they moved to knives that are sharp and instruction on how to safely use a knife.
These first two steps are the most time consuming.
6) Saucing the Apples
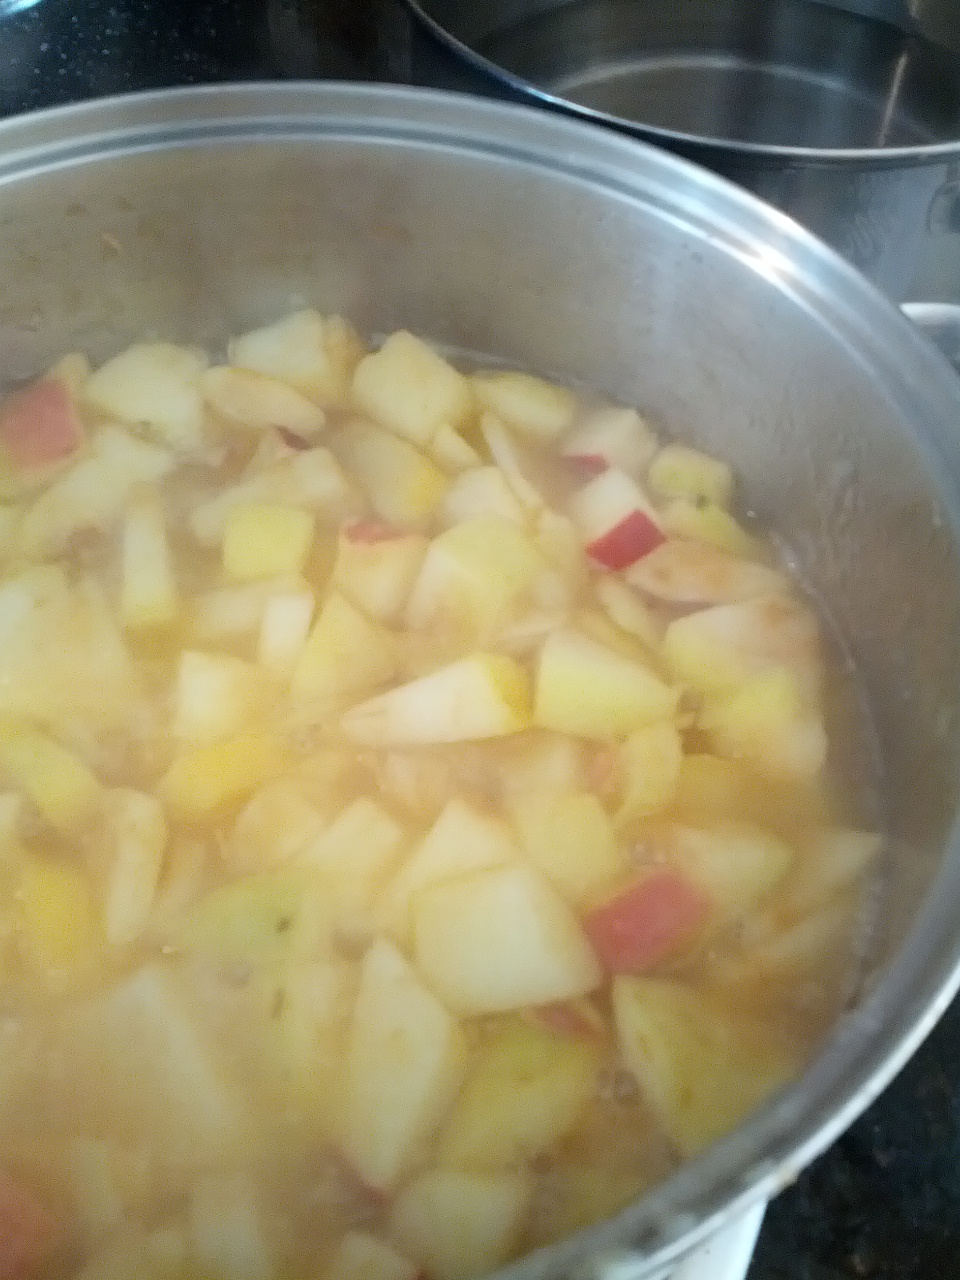
The Carpenter then puts all of the apple pieces into a pot with about an inch of water on the bottom.
The apples are mixed frequently until they turn soft. Adjust your water amounts according to how thick you want your applesauce. Just remember you can always add water but you can’t take it out.
5) Remove skins
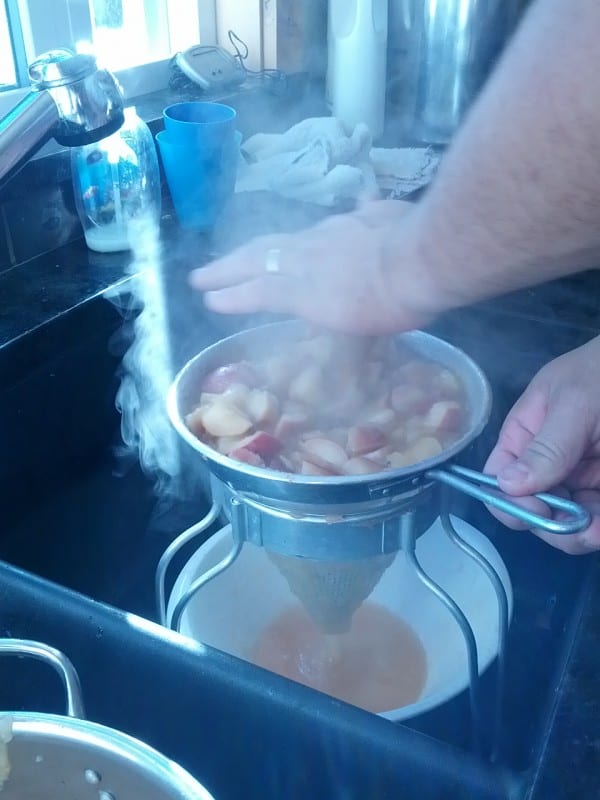
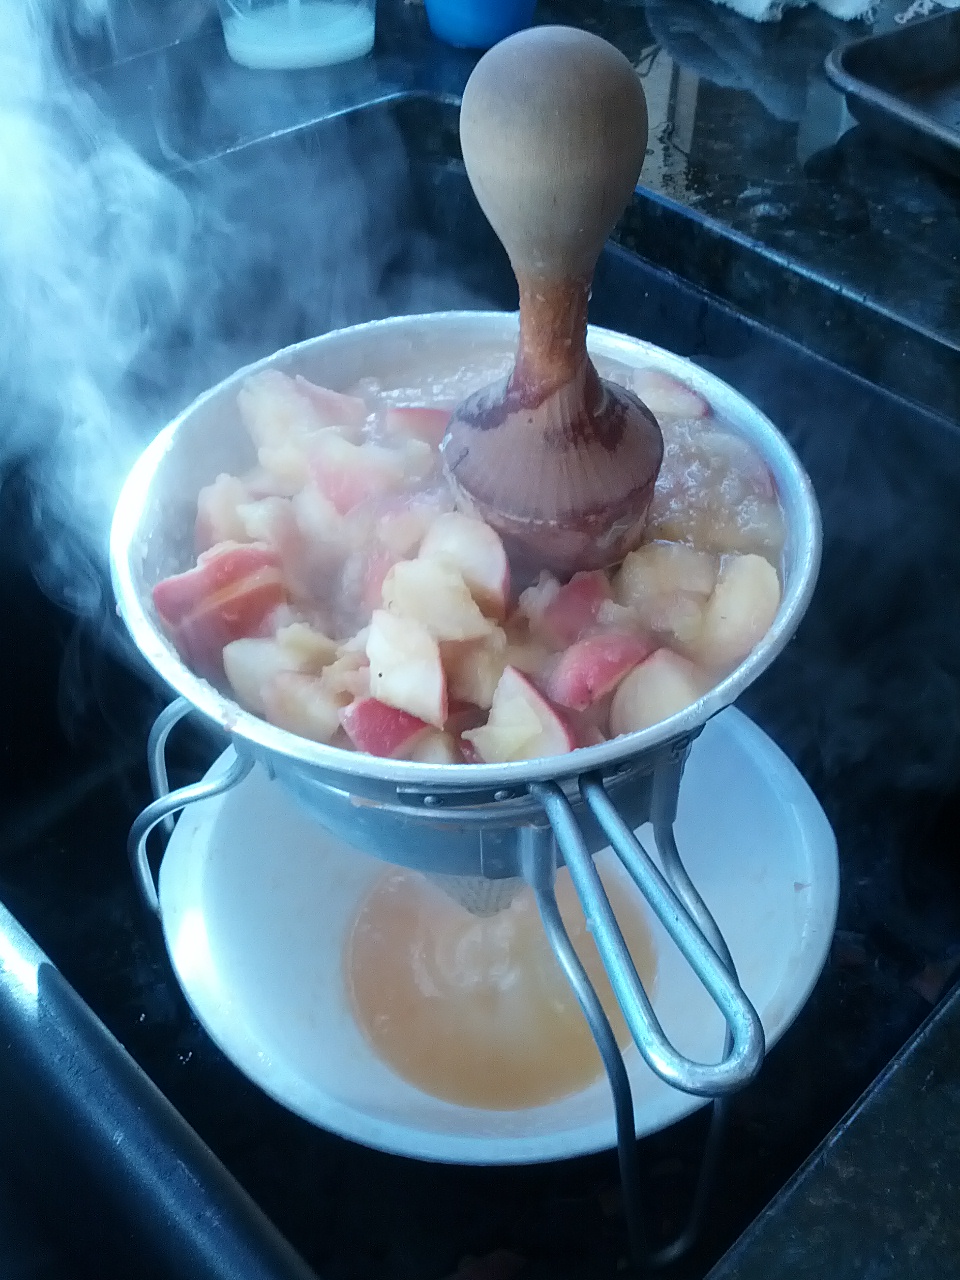
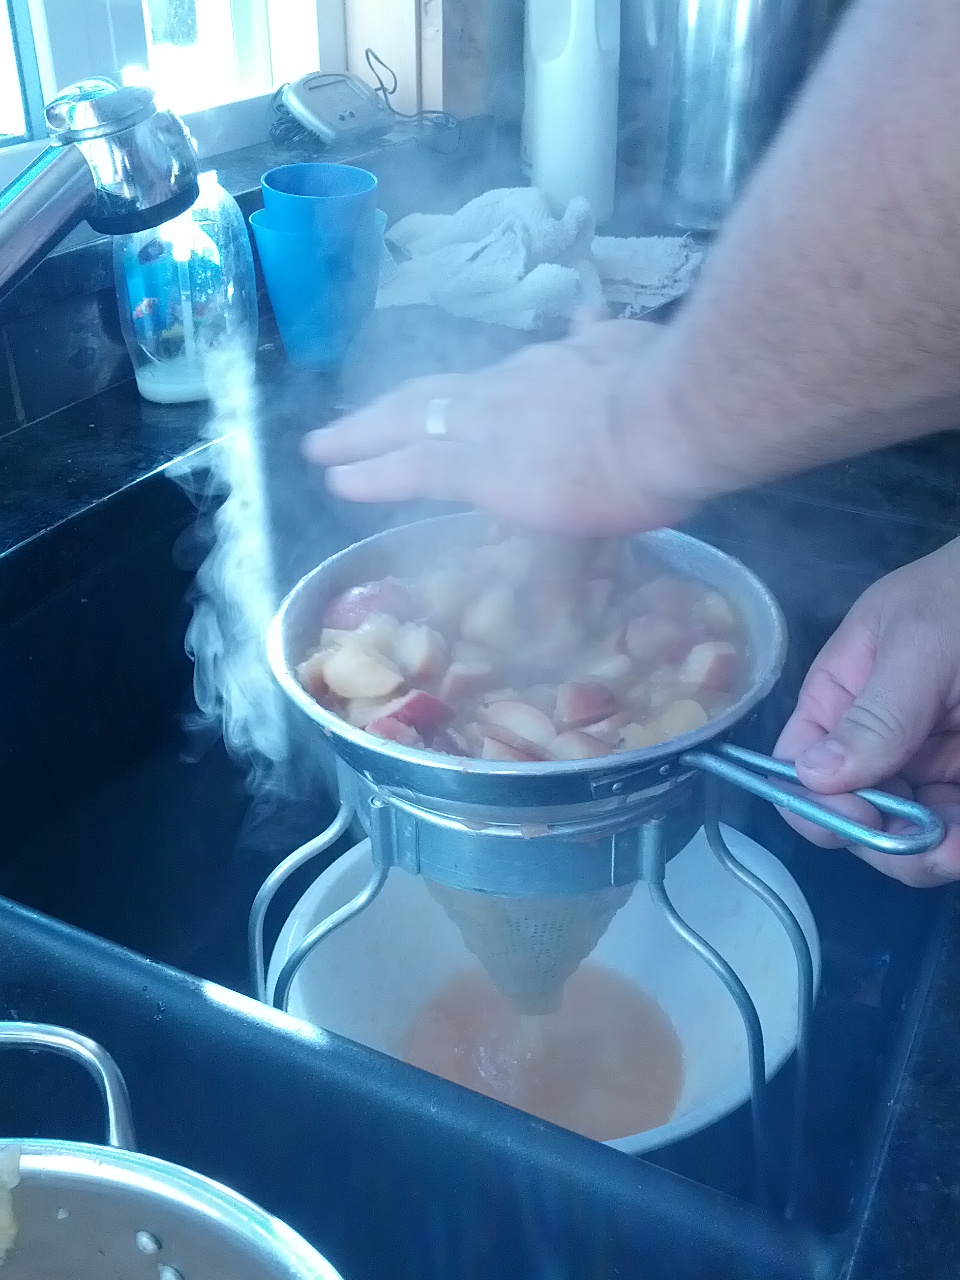
The Carpenter then takes the softened apple mix and pours it into the conical sieve (with a bowl ready underneath). We place ours in the sink. This is easier on the shoulders and contains some of the sticky juice from getting all over.
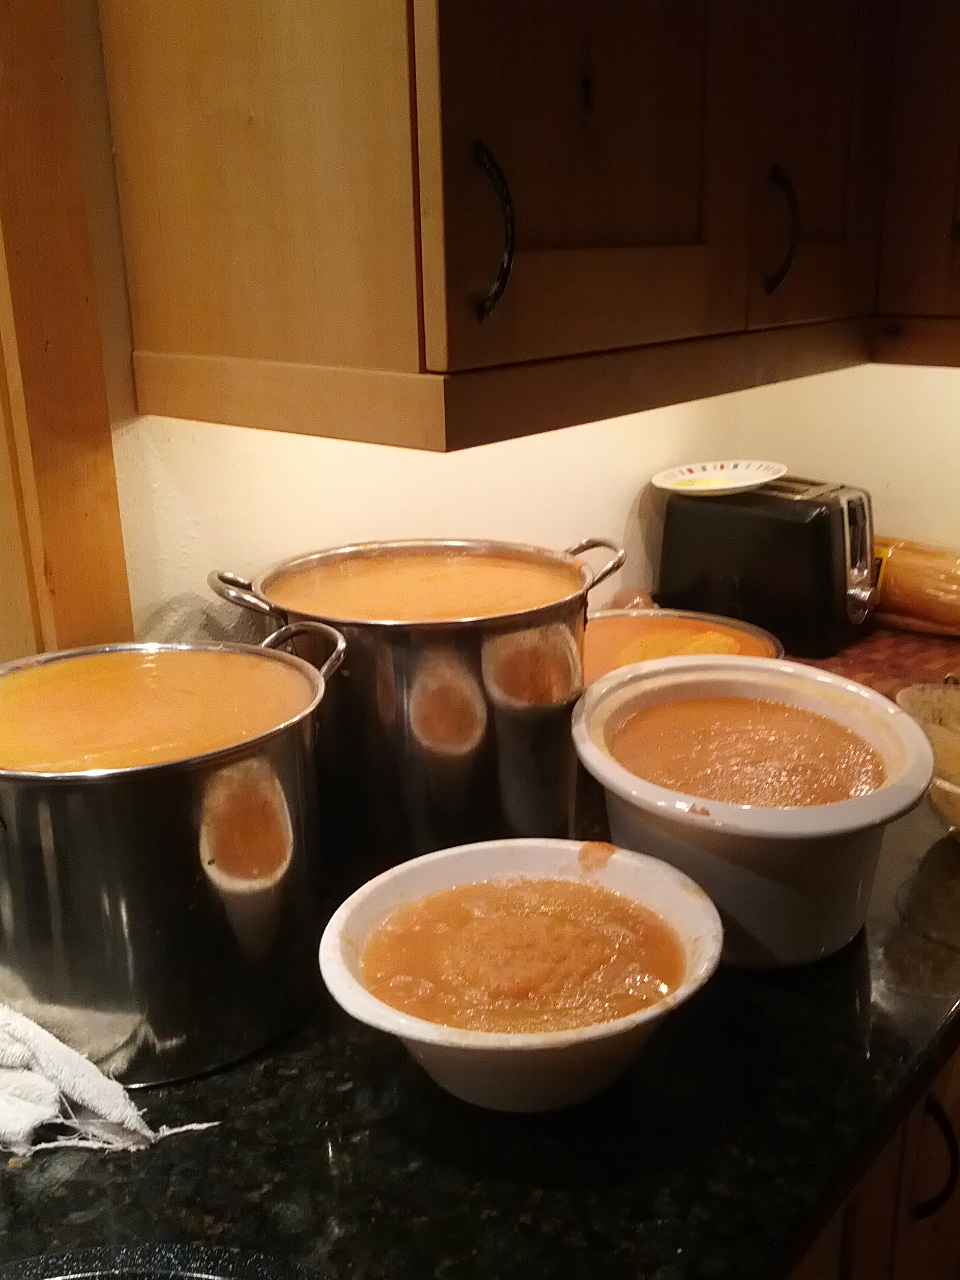
It is rotated through the sieve until “dry” peels remain. These peels are discarded into our compost bucket. The applesauce in the bowl goes into a large holding container until processing time. (When we are on the last batch I get the water-bath canner prepped because it takes a while for the water to get heated up.)
6) Process all apples needed for sauce
This process continues until we have processed all the apples we have wanted to get through for the day (or my fingers feel like they are going to fall off)
7) Clean up!
Before processing we clean up all the prep mess with hot soapy water. This enables me to work without fighting sticky clutter. It also makes cleanup after processing much faster and easier. Applesauce, when left to dry on dishes, becomes a pain to remove from surfaces.
8) Time for processing! Heat and flavor your applesauce.
This part in our operation is all me. If you wanted to have two people it would be easy to have one person add sugar and cinnamon to the sauce and heat it while the other person processes jars.
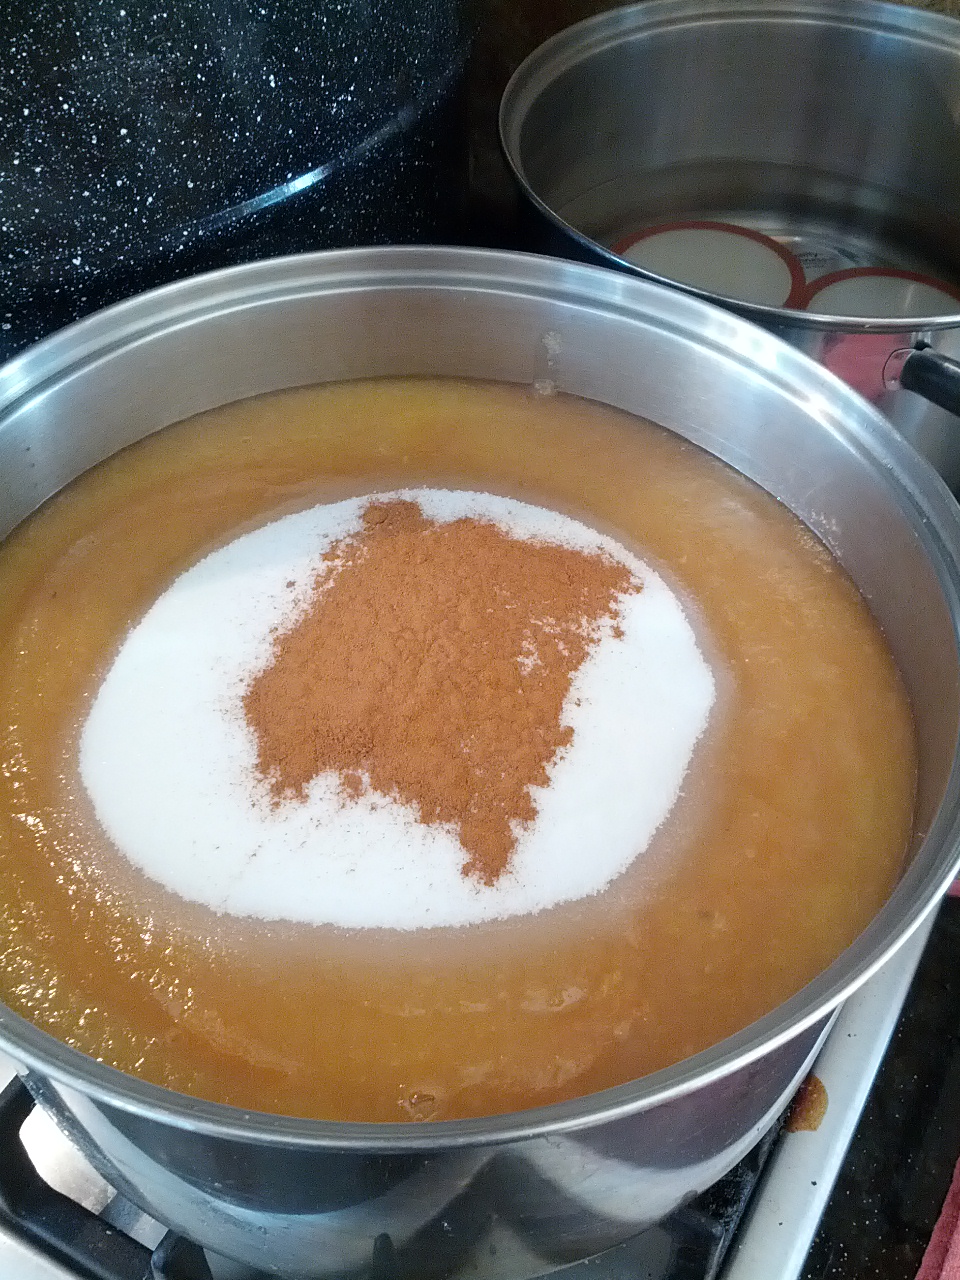
This is all about preferences. I add about 2 cups of sugar and about 2 Tbsp. of cinnamon to a large pot of applesauce. You can add more sugar, other spices such as nutmeg, make plain applesauce… It is all about your desired taste.
9) Once the applesauce is lightly simmering and your sugar is dissolved, it is ready to process.
At this point you can eat it, save it in the fridge, let it cool and freeze in quart freezer bags, process your jars in a water-bath canner for 20 minutes, or do a little of each. 🙂
Want to learn about water-bath canning?
I found this fabulous video by MSU Extension: https://www.youtube.com/watch?v=-eVXHsWJDlg
Also the Simply Canning website is a great resource for learning how to can and preserve food.
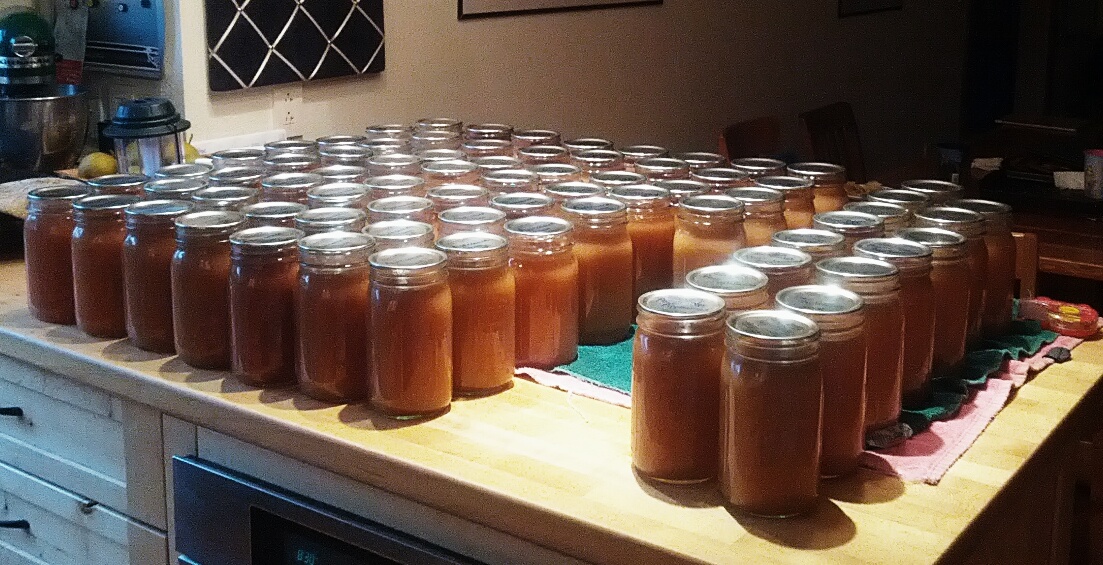
Here is our first batch of finished jars. They are just beautiful!
We now have 90 quarts. This coming weekend I am working on finishing the last 10 or more (whatever the remaining apples fill). I also get the privilege of making applesauce with a friend and teaching her how to water-bath process this weekend.
Because I don’t have such a large volume of sauce to make this next round I won’t be using the whole family to help me process but I will use the same steps.
Applesauce Variations:
1) Peeling: If you do not have a sieve and don’t mind having peels in your sauce, you don’t need to take them out. Simply cook the pieces until soft and use a potato masher to sauce.
2) One of my favorite variations is to add another fruit into the applesauce. We made some Pear/Applesauce this year (Scrumptious!). In the past we have added blackberries and blueberries. Berries you can add before running through a sieve or after. Prep stone fruits by removing pit and chopping, then cook with the apple chunks.
Hope you can enjoy some scrumptious sauce before this fall ends! Yum!
Comment below and share your favorite applesauce variation or your favorite fall recipe
Happy Cooking,
The Frabjus Lady

![IMG_20140922_185027[1]](https://ladyandthecarpenter.com/wp-content/uploads/2014/10/img_20140922_1850271.jpg?w=300)


Leave a Comment