There are a few things that I seem to grow well in the garden. One is Sugar Snap Peas and the other is Green Beans.
Last year I had three trellis rows of green beans and I was able to preserve 5 gallon bags of blanched frozen beans. Because 5 bags didn’t last us nearly all year, my goal this year was 12 bags of beans. I went a bit crazy and planted 7 trellis rows of beans.
I haven’t been wowed by their production this year, but I should met my goal. So far I have 8 bags in the freezer, another gallon and a half in the fridge ready to prepare and the vines are still producing.
I have had a few people ask what I do to prepare my beans for freezer storage and thought maybe some of you would be curious. It is really easy to do.
Preserving the Harvest: How to prepare green beans for freezing.
1) Rinse your green beans in cool water. This is not an intense cleaning. You are just swishing off any dirt, plant matter and random bugs off.
(This would be a good time to get a big pot of water to a boil over high heat.)
2) Snap off or cut off the tips of each bean. It is really easy just to snap the ends off or if you prefer you can do this with a knife. I tend to go back and forth. The Carpenter helps a lot and he prefers the snap method.
3) Break or cut into bite size pieces or leave whole. I make them smaller because I like to steam our green beans for eating and when smaller they are easier to fit in my steaming basket.
(Have you prepared that big bowl of ice water yet? )
4) Place beans in boiling water. Wait till water comes back to a boil and time for 3 minutes. If you have larger beans boil for 4 minutes. This is called blanching. The water should return to boiling within 1 minute, or you are using too much vegetable for the amount of water.
Why do you need to blanch your vegetables before freezing?
According to the National Center for Home Preservation, blanching slows or stops the action of enzymes which cause loss of flavor, color and texture. Blanching cleanses the surface of dirt and organisms, brightens the color and helps retard loss of vitamins. Blanching also wilts or softens vegetables and makes them easier to pack.
5) Strain water off your beans (I use a colander over another pot. I don’t have a nifty wire blanching basket. This way I can catch and reuse my hot water for the next batch. )
Note: I had every intention of taking pictures of step 5-7 but got wrapped up in the process
6) Immediately plunge your blanched beans in a bowl of ice water. This stops the cooking process.
7) Spread the beans out on a cookie sheet (In our house this step includes giving each kids a small amount to eat) and stick in the freezer for about 30 minutes or until partly frozen. Then place in freezer bags or any freezer/food safe container that allows for most of the air to be removed.
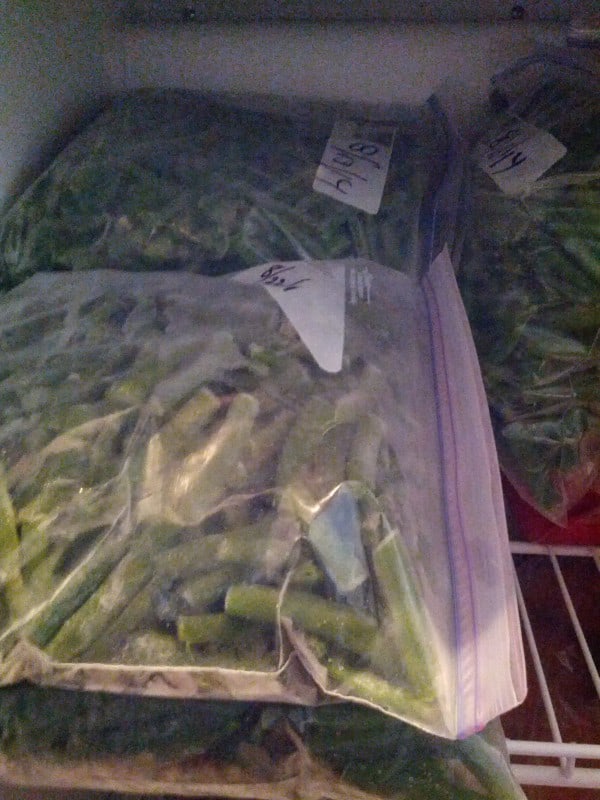
Here are my beans in the freezer. Label your beans with the date they were prepped for freezing.
I currently have them in my upright freezer but once I am done for the year they will be stacked into my chest freezer with the ones that were processed first on the top and the ones I have most recently processed on the bottom. This is a great item or a chest freezer for three reasons: 1) I don’t need to dig in the freezer to know what is there. 2) I don’t open it as often which keeps the temp steady and 3) If the power was to go out it would stay frozen the longest.
If you have any more questions about preserving food the National Center for Home Preservation is a wonderful resource.
I would love to hear about what you freeze of summer’s goodness. Enter a comment below.
I have to admit, the leaves are starting to change here and that makes me a bit sad. So glad I have some summer preserved for those snowy, cold days to come.
Happy Cooking,
The Frabjus Lady


Article Comments