I have a little one that is obsessed with the movie “Frozen”. I confess I am rather sick of the movie, but she loves it.
I am not one to go nuts with decorating and believe that spending a lot of money on decorations that will be thrown away is ridiculous. So I went searching for ideas that were fun and easy to create.
After much searching these are the ideas we used.
First of all. My little one is only turning 4. This was her first friends party. She is not super social and I didn’t want to make the day overwhelming. So, we invited four of her friends and kept it simple.
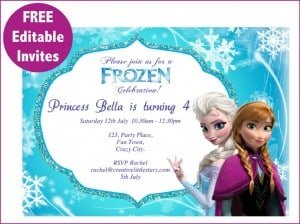
I found these invitations that are editable and printable
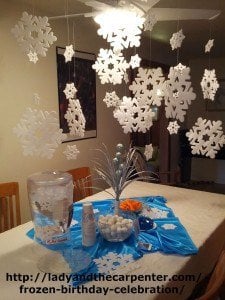
The main decoration was simple. Since the theme fit perfectly with the season we first hung snowflakes all over the room. ( I actually was able to borrow these foam ones. It would be simple to also make some cut snowflakes out of cardstock)
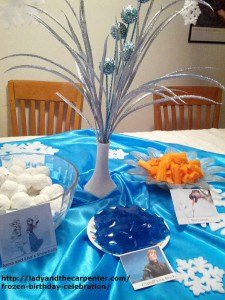
I covered the table with a white clothe (shhhh don’t tell anyone it was a bedspread). On that I put a yard of shimmery blue fabric.
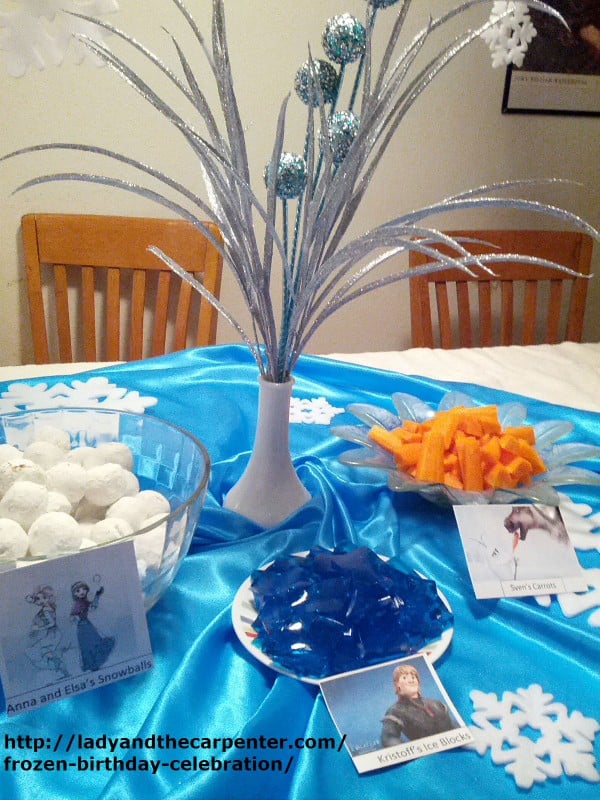
I put my hand in the middle, twisted the fabric in a swirl pattern and placed the centerpiece . The glittery stems looked like Elsa’s frozen fountains.
Food was Super Simple
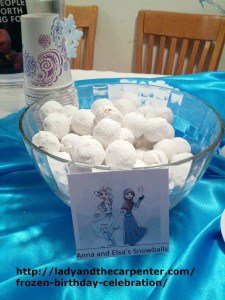
Anna and Elsa Snowballs
(powdered sugar doughnut holes)
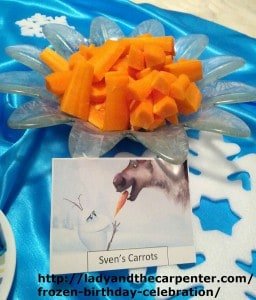
Sven’s Carrots
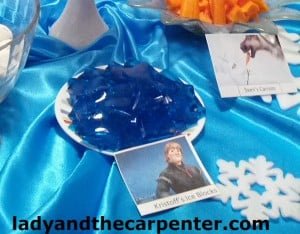
Sven’s Ice Blocks
(blue jello squares)
Note: I should have used a couple more packages of jello to make them bigger but the little kids didn’t care 🙂
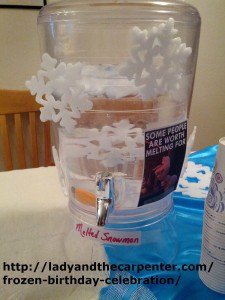
Drink: Melted Snowman
(water with a carrot stick and some round rubber pieces for eyes)
Games and Activities
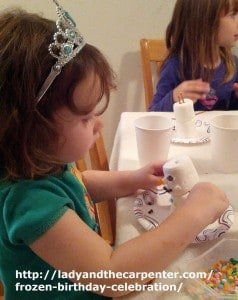
Build a Snowman
You need:
– Big Marshmallows (we used these ridiculously large “campfire” marshmallows)
-Skewers (to hold the marshmallows together)
-Chocolate chips
-Mike and Ikes (for noses and decoration)
– Pretzels (for arms and hair)
– Thick frosting for sticking on decorations
Each child was paired with his/her parent for help. I set up an example with only the connected large marshmallows “glued” (with frosting) on to the plate so the parents could see how to get started.
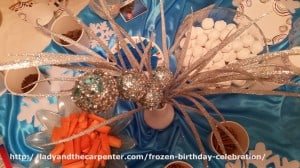
I told the kids what we were doing. All decorations were on the table in cups for grabbing (two sets, one for each side of the table).
The kids had a GREAT time.
Most of the kids ate part of the snowman when they finished ( and that would be why we served water as a drink)
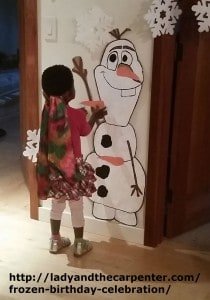
Pin the Nose on Olaf
Two games was plenty for these little ones.
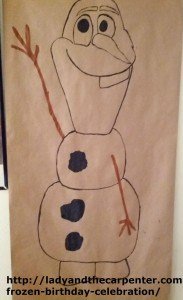
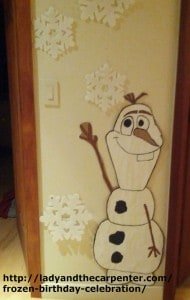
To create Olaf, I found a sketch I liked on the internet. This is the one I used. You can also google “Olaf Sketch step-by-step” and you can find some great tutorials.
Just remember it doesn’t have to look exactly like Olaf. If Olaf is a bit much or you are not comfortable with drawing, make a generic snowman and the kids will still love it.
I first drew him in pencil. Next, i painted the outline and then filled him in with the colors. All was filled in except the nose of course. He can’t have a colored nose if the kids are going to add it. right?
Here he is finished and ready to party.
It was more work than I anticipated and I could have reduced the work by starting with white paper but I wanted it thick for the girls to put in their room after the party. I didn’t have a thick white paper and had no desire to run to the store.
I traced the nose outline and cut out orange construction paper for the noses. The kids laughed and laughed as people put noses all over Olaf.
Candles and Dessert
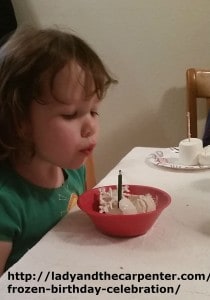
Our family doesn’t have a birthday cake tradition. Instead we ask each person what dessert they would like to have. Whatever that choice is, the candle ends up in the top.
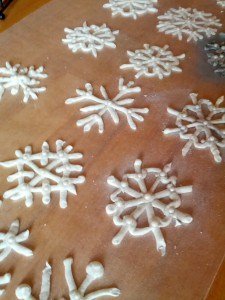
The choice was ice cream. Perfect for the theme. We provided toppings and my lovely friend helped me make these royal icing snowflakes to garnish the ice cream.
They were a bit fragile but we managed to get enough off the paper for each person to get one. Here is a great link for some directions.
Happy Birthday my Princess!!
We had a great party. I loved the simple fun and beauty of the day. The party lasted about two hours which was perfect for the littles. They all had lots of fun.
Now time to go build a snowman,
The Frabjus Lady
Thank you for visiting Lady and the Carpenter



Leave a Comment