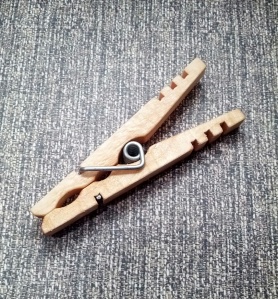
People are quite curious about how we make made in usa clothespins. When we share with people what we make most people look at the pins with a confused look and ask “You made this?”
Here are the basic steps to building our clothespins. I am not going to go into specific details of measurements. The dimensions of your pin will rely on the measurements of the torsion-spring that you are using. The springs on the market vary quite a bit.
However, what you will need if you have the desire to make some of your own torsion-spring clothespins are:
1) An example in hand
2) The torsion-springs you plan on using
3) A working knowledge of how to operate basic woodworking tools
4) A working knowledge of geometry.
If you have these things you can figure out the details by looking at the pictures and make your own lovely clothespins.
Steps to Making Wooden Torsion-Spring Clothespins
1) We get our maple wood from a local mill that supplies wood for guitars. We buy the ends that they can not use.
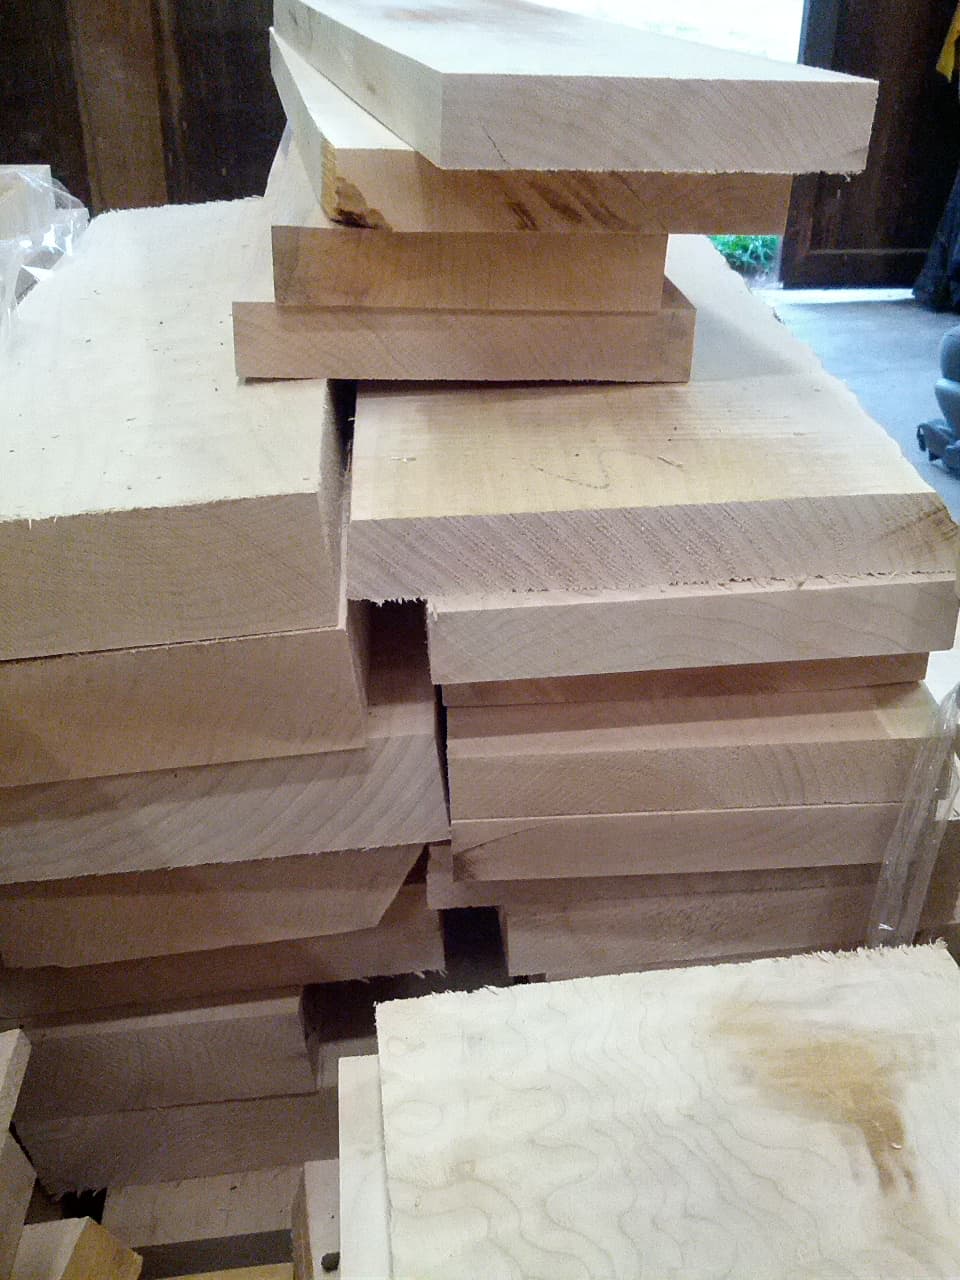
I have to say this is my favorite part. I love that we use wood that is leftovers for someone else. It is perfect for us!
2) The wood is milled to the dimensions we need. This is a blank ready for processing into clothespin halves.
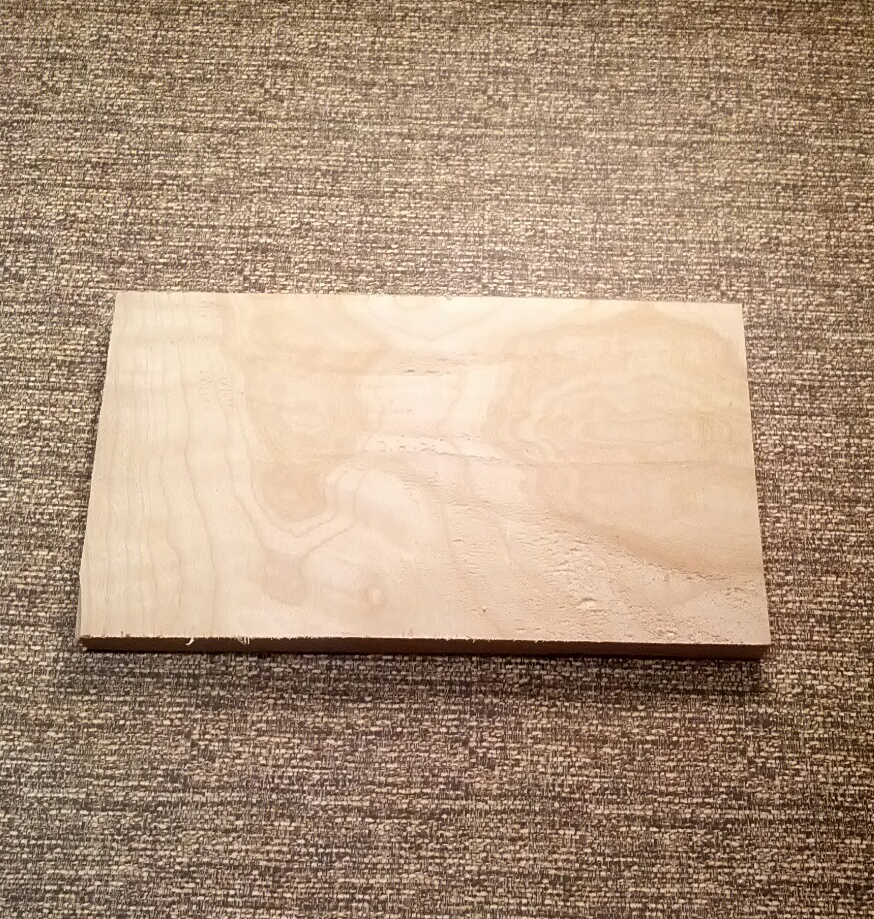
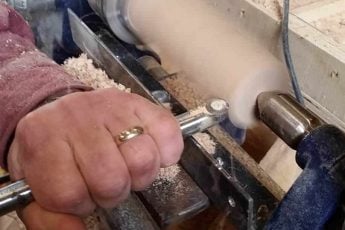
3) These blanks then receive their first grove

4) The piece is then flipped over to receive the notches needed to hold the torsion-spring arm and the finger grooves.
5) The piece is flipped again to receive the rest of the curves. OOoooo Groovy. (Okay I couldn’t resist)
6) The piece then receives the angle cuts that give the pin it’s ability to open in the spring and gives it that nice profile. You can see an angle on the back and a small one on the front. The back groove has to be at a precise angle to allow for the pin to open with your spring (which settles in that back grove)
7) The piece is then cut into strips. These are the clothespin halves.
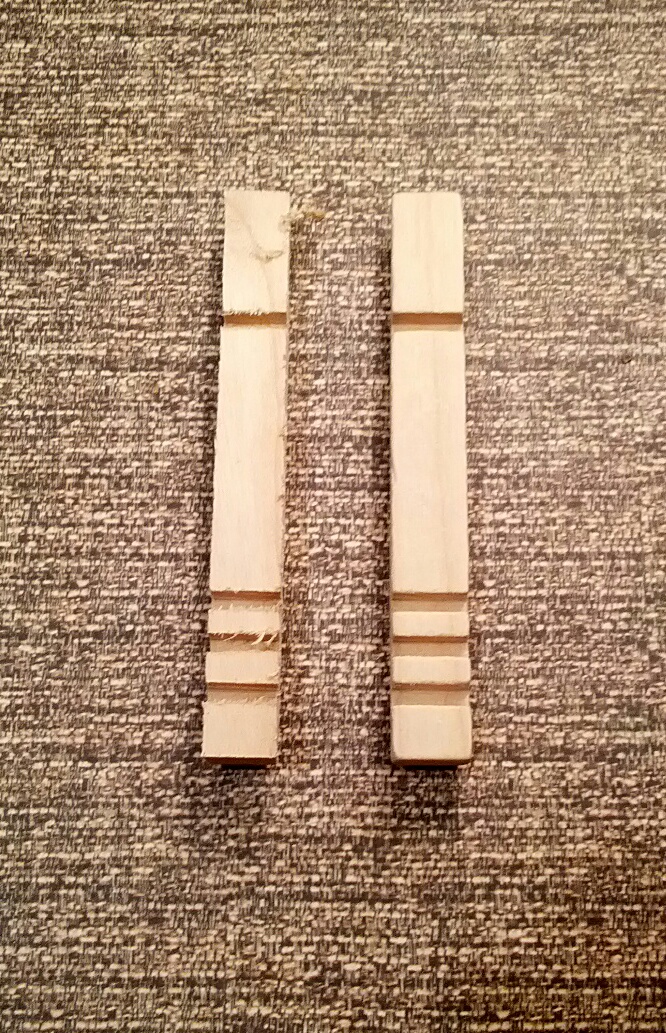
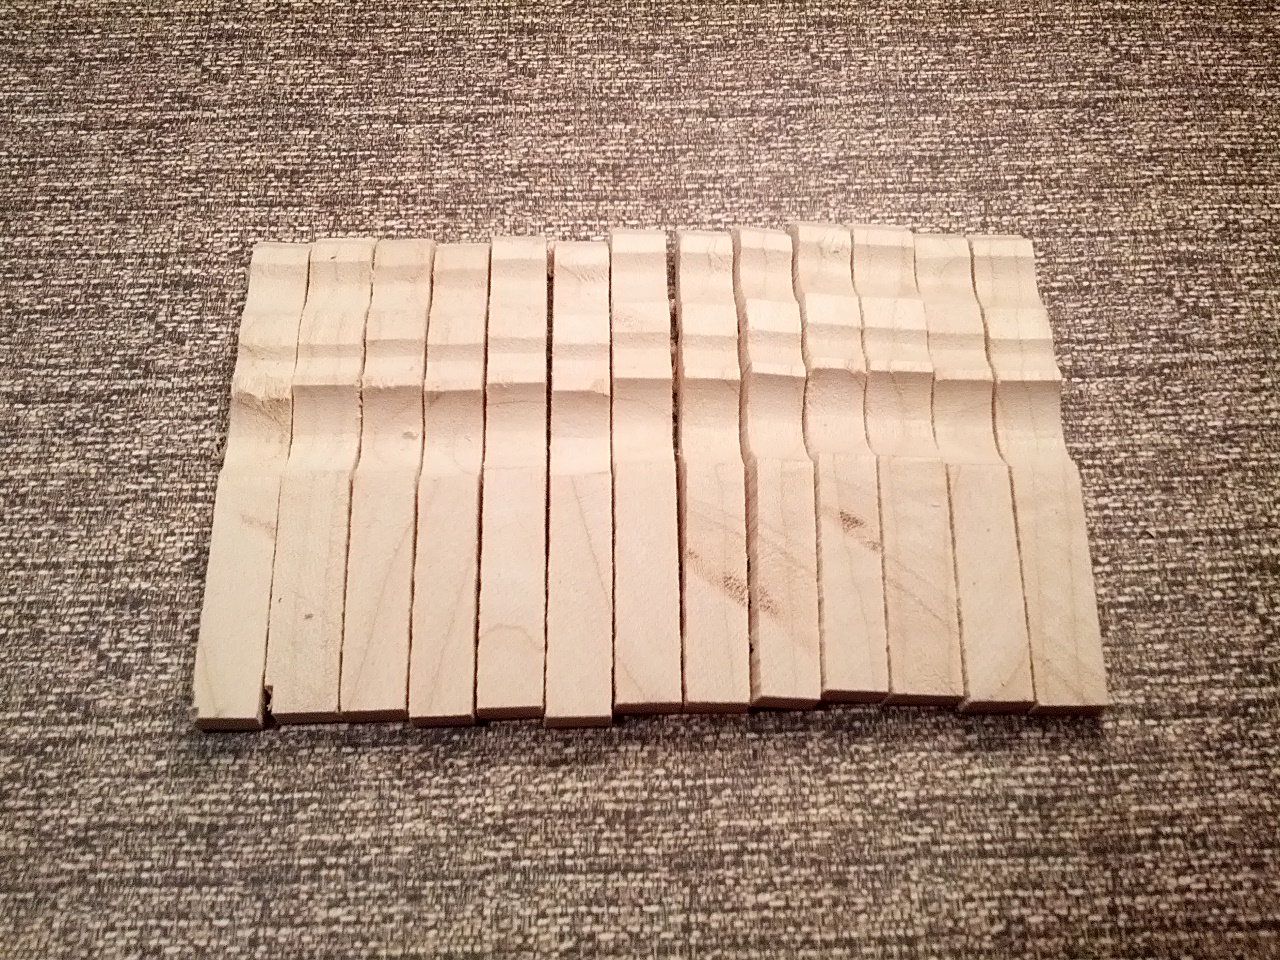
8) As you can see these strips have rough edges. It would take FOREVER to sand each one so they are placed in a tumbler. The concept is similar to a rock tumbler. They go round and round and as they rub against each other the edges are smoothed.
This is a picture of a usa clothespins half before and after tumbling.
9) We then cover the tumbled clothespin halves in linseed oil and let them dry for 48 hours.
The oil soaks into the wood and gives the finished pins a little protection from the elements. (Keep in mind NOTHING is impervious to the weather so Kevin’s Quality Clothespins still need to be brought in from the weather if you want them to have long lasting beauty)
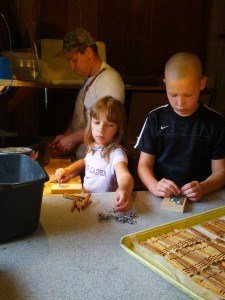
10) Now time for assembly. We have this simple, nifty gadget that helps us assemble made in usa clothespins without being bitten by the springs. The springs we get from an American Manufacturer. They are stainless steel, and tightly wound springs. They are much stronger than your common usa clothespins spring so the assembly tool is wonderful.
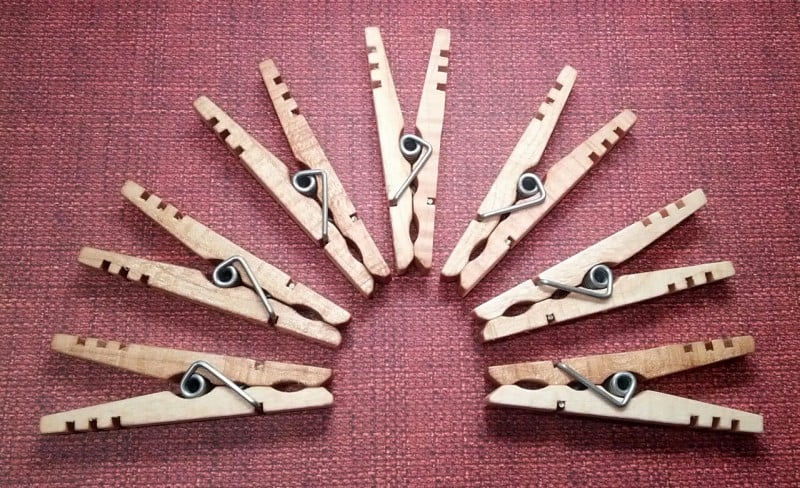
11) Wallah! Finished clothespins! They are beauties. Okay, yes I am obsessed, but with these nifty, useful, pretty gadgets everywhere who wouldn’t be.
Here is a picture of some of my favorites to come off the line. (The beautiful patterns do not compromise the clothespins functionality.)
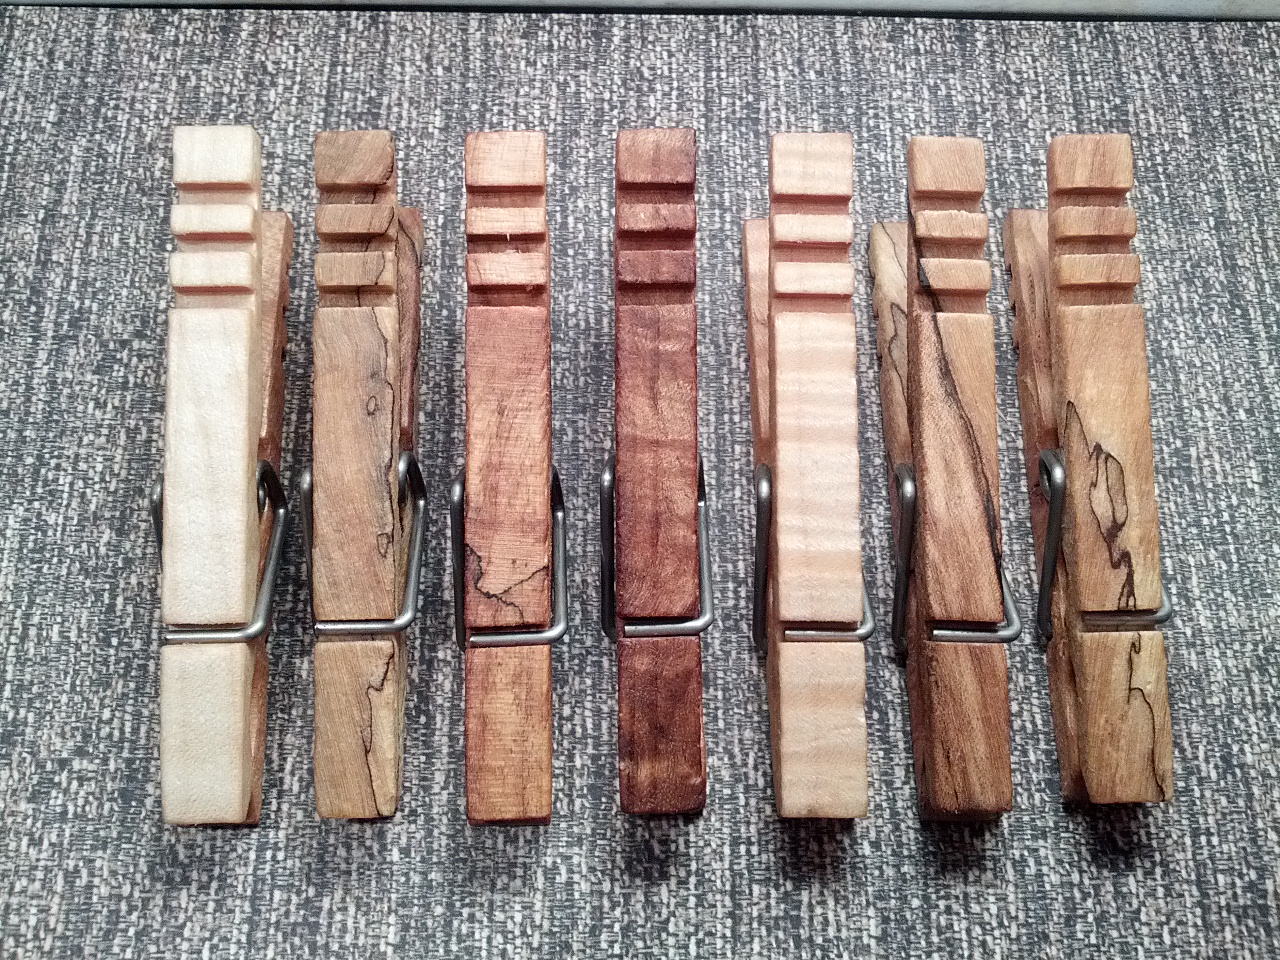
When you use made in usa clothespins for your home, crafts, organizing, hanging clothes on the line, or for any random job its so nice to have something functional and visually fantastic to look at.
Want to learn more about our clothespins? Click HERE

But you don’t have a clothesline? Check out the many uses for clothespins HERE
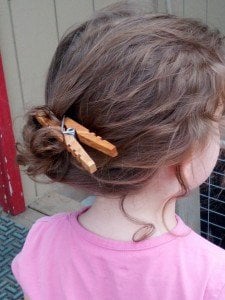
Want to see some of the testing we put our pins through?Click HERE
We think they are wonderful but don’t take our word for it. Check out our Review Page HERE
Hope you enjoyed finding out more about how we make clothespins. If you have questions, we would love to answer them in the comments below.
Come Check out our other Crafting Tutorials:

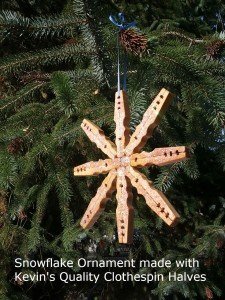
Teacher Appreciation Ornaments
Bird Nest Necklaces and Earrings
-The Frabjus Lady and The Screwy Carpenter
Thank you for visiting Lady and the Carpenter
Home of






Mei
October 18, 2018 4:56 amGood way of telling, and pleasant article to get data concerning my presentation focus, which i am going to convey in college.
garage doors baltimore
October 25, 2014 6:32 amHi, I do believe this is a great website. I stumbledupon it 😉 I’m going to return once again since I
saved as a favorite it. Money and freedom is the greatest way to change, may you
be rich and continue to help other people.